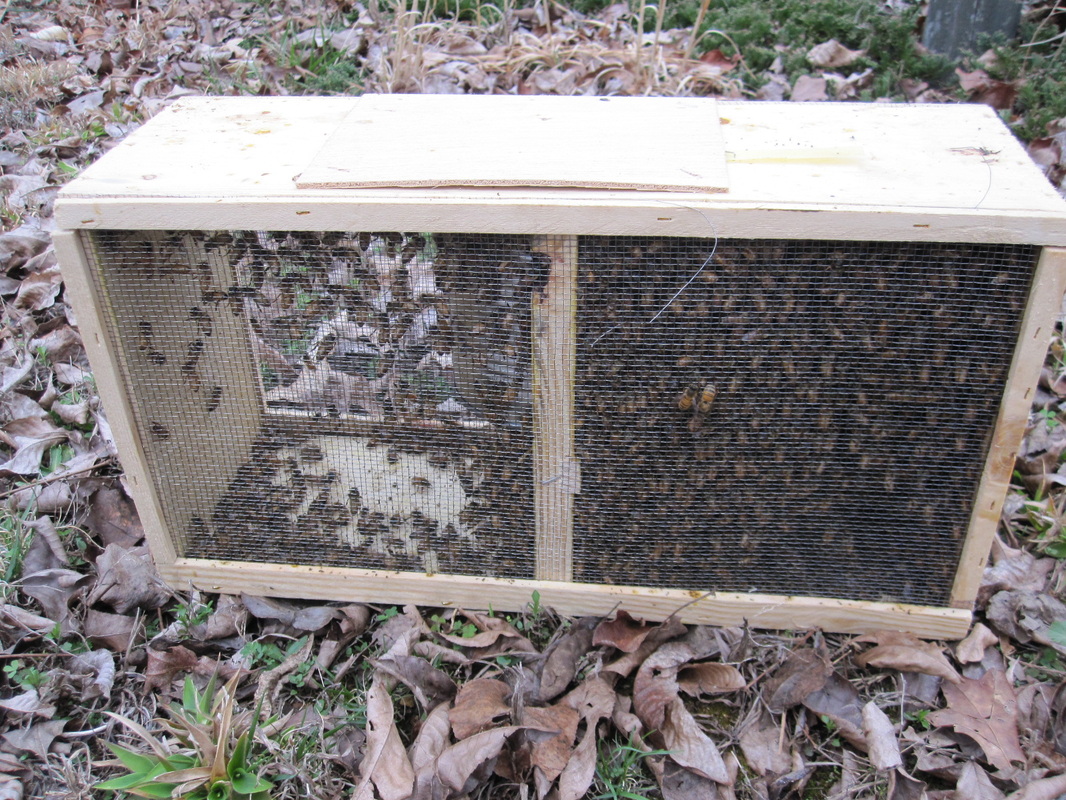
Wednesday I picked up three new packages of bees. Each was a three pound package, with a queen. I photographed the steps of installing them into their new hives.
Step 1: Prepare your hive boxes and stands. Remove one of the frames from the box. You will have 7 frames left for an 8 frame box and 9 for a 10 frame box. Have handy a small flat head screw driver, a hive tool, a thick rubber band, and wide wooden craft stick (or staple gun if you prefer). Install a plastic bottom closure if you use a screened bottom board. I also add a frame of honey if I have one and as many frames of drawn comb I can spare.
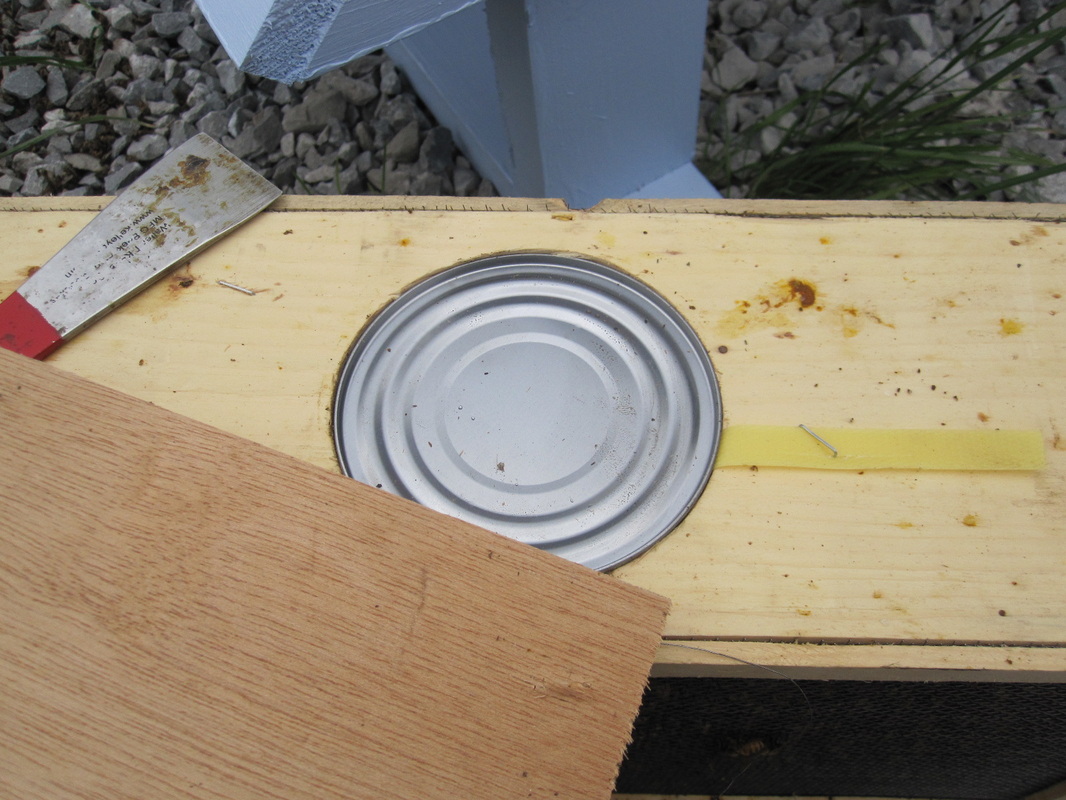
Step 2: Pry open the top of the package.
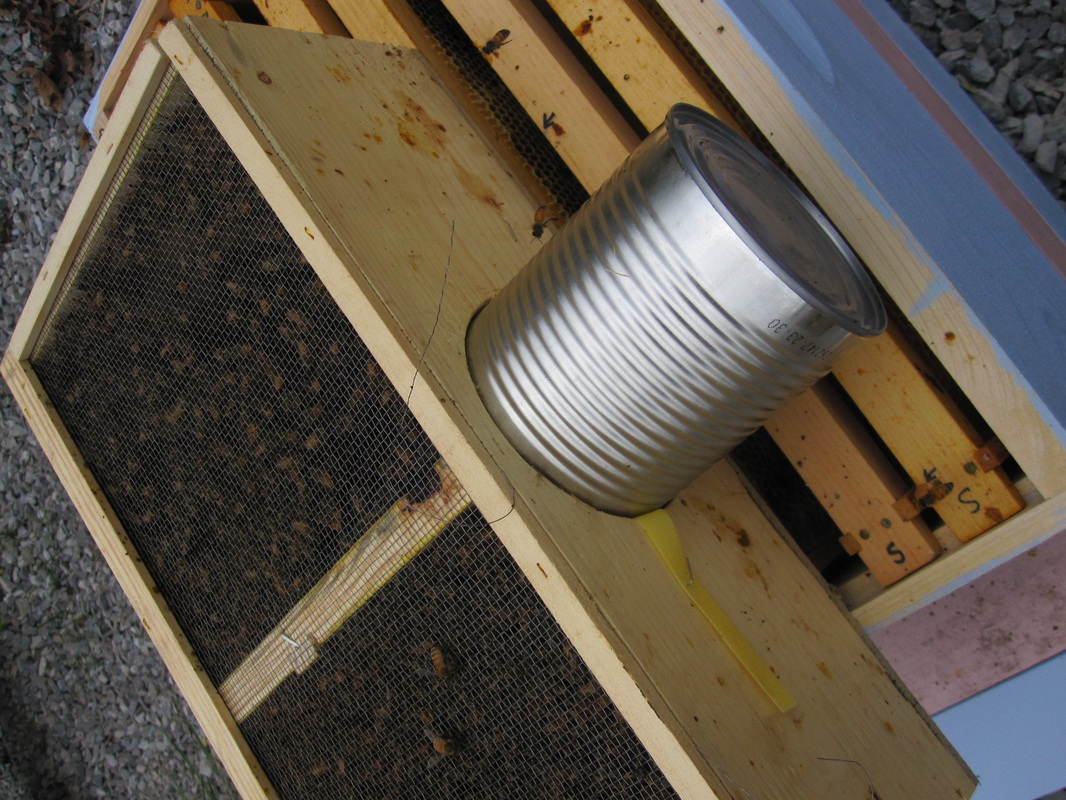
Step 3: While holding the package sideways over the hive, gently slide out the can of syrup.
Step 2: Pry open the top of the package.
Step 3: While holding the package sideways over the hive, gently slide out the can of syrup.
Step 4: Gently remove the queen cage. Don't worry if some bees get out, they will find their way back.
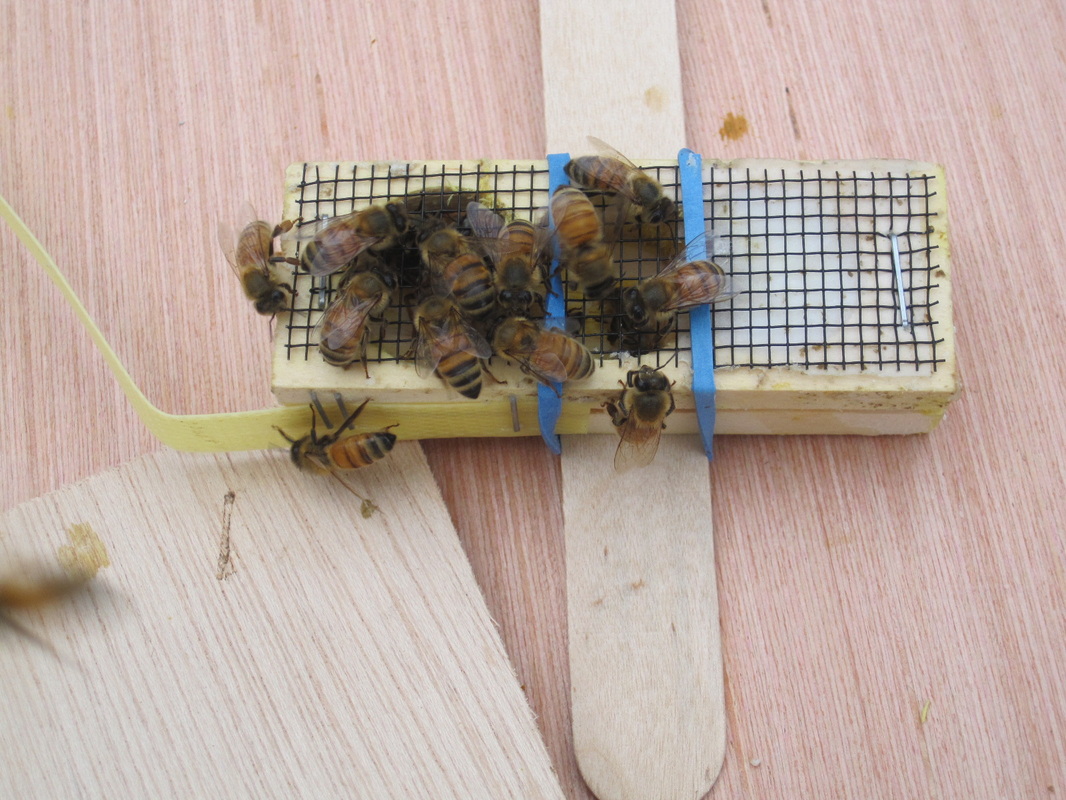
Step 5: Gently brush off the bees from the cage and using the craft stick and rubber band, fashion a sling for the queen cage, to suspend it between two frames. Others prefer to use a staple gun to staple the cage to two frames, but I am too afraid I might injure the queen, so I use this method.
Step 5: Gently brush off the bees from the cage and using the craft stick and rubber band, fashion a sling for the queen cage, to suspend it between two frames. Others prefer to use a staple gun to staple the cage to two frames, but I am too afraid I might injure the queen, so I use this method.
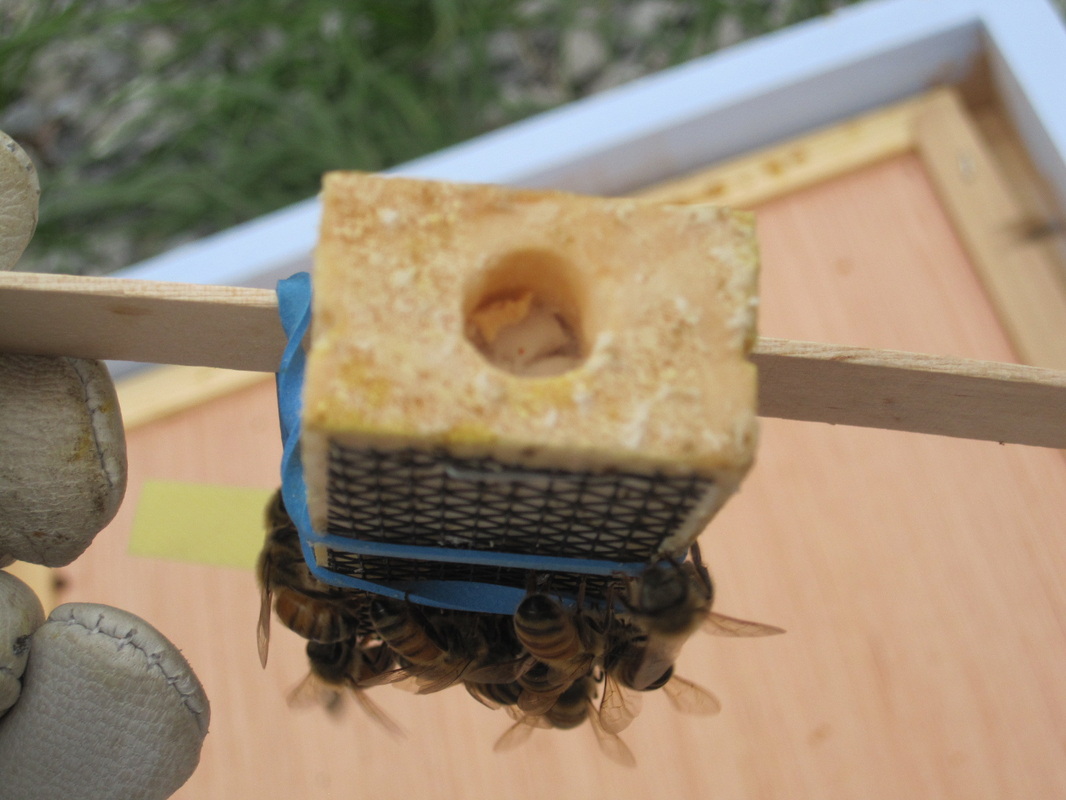
Step 6: VERY IMPORTANT! Remove the cork from the queen cage, on the side of the cage with the candy plug. Do not remove the other side or she will walk right out and may be killed. It takes a few days for the bees to eat through the candy plug to release her, at which time, they have accepted her as their queen. If you forget to remove the cork, she is trapped and cannot be set free.
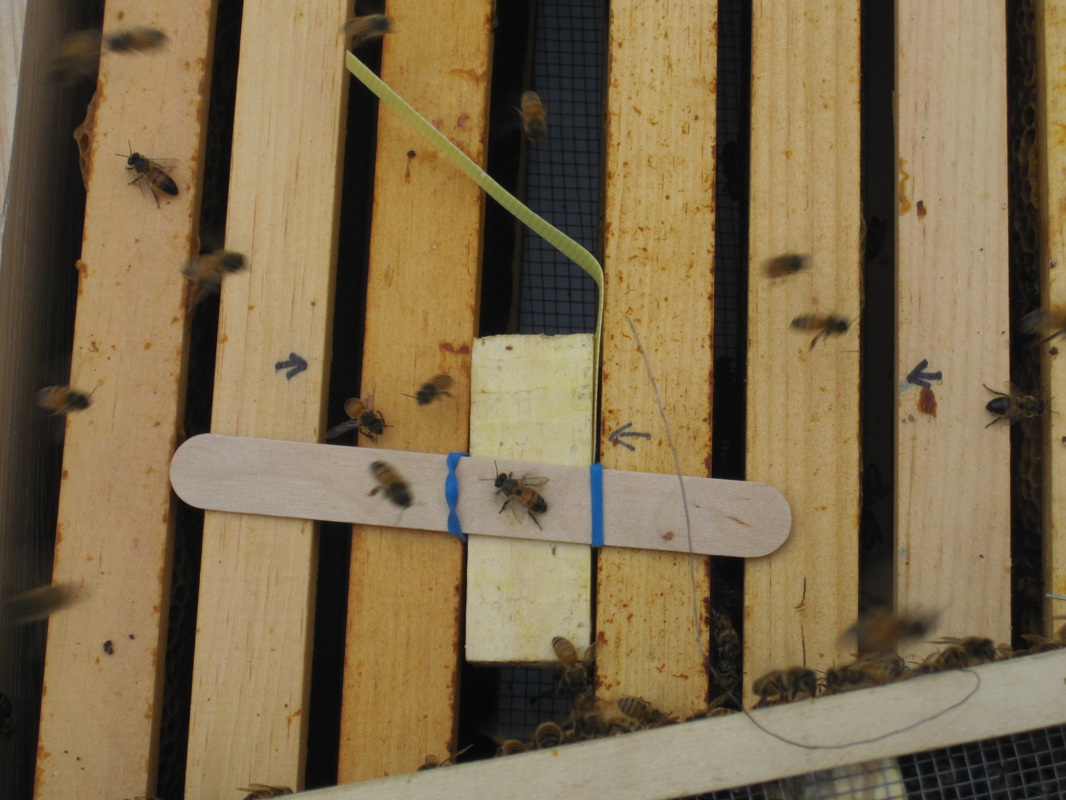
Step 7: Place the queen cage between two center frames, with the mesh side facing down and slide the frames tight on either side of the cage.
Step 7: Place the queen cage between two center frames, with the mesh side facing down and slide the frames tight on either side of the cage.
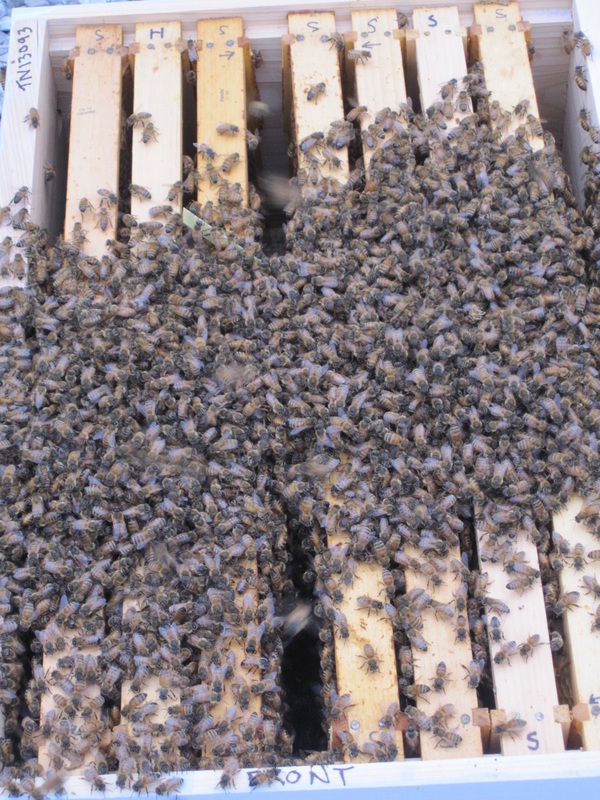
Step 8: Pick up the open package of bees and bang it firmly, only once, on a solid surface. This will knock the bees loose, but will not hurt them. You may be surprised how well they hang on. Once loose, pour them into the hive, over the queen cage, and roll the package side to side to get as many out as possible. Don't worry if they don't all come out, just get most of them in the hive.
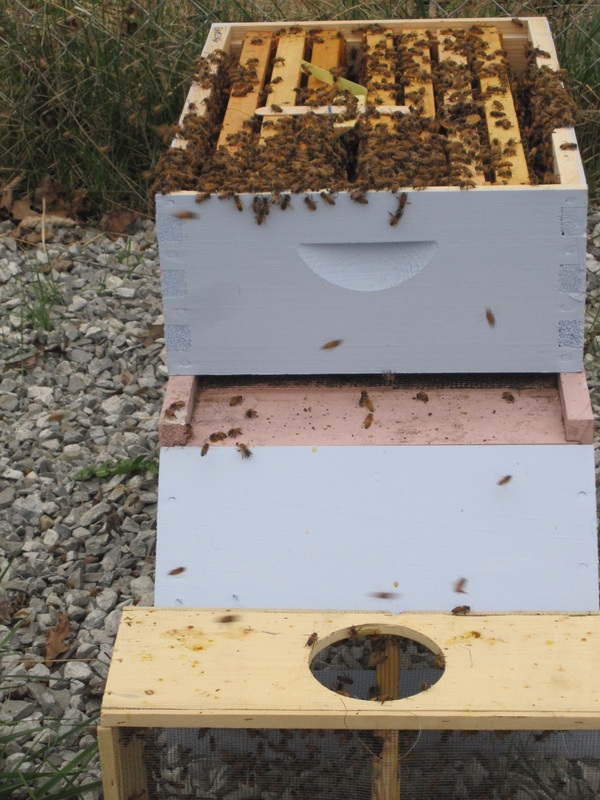
Step 9: Place the package with any remaining bees in front of the hive entrance.
Step 9: Place the package with any remaining bees in front of the hive entrance.
Step 10: Give the bees a few minutes to move down into the hive and then place the inner cover carefully on top and then place the top on.
The bees will send out a pheromone to their sisters, fanning their butts in the air, to call them into the hive. If you watch for awhile, you will see the bees remaining in the package march right into the hive. I usually wait a day and then put in the entrance reducer.
Check that your queen has been released in three days. If she is still in her cage, open the other cork and let her walk into the entrance of the hive. Add the last frame into the hive and close it back up for at least a week for them to settle in.

 RSS Feed
