First, let me say that I’m ashamed how long it’s taken me to make a post on here (one year to the day). It has been a crazy year with many personal and professional bumps which have kept me away, but as a New Year’s resolution, I will try to do better.
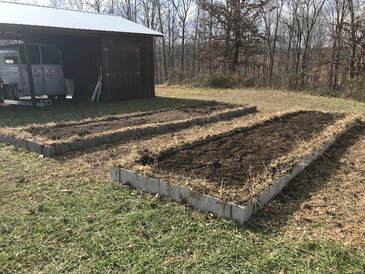
Now on to my latest project, rehabbing my raised garden beds. This coming March will mark our fifth year on the farm, which is also apparently the life of untreated wood raised garden beds. My first two raised beds were completed the first year we were on the farm. They were in desperate need of fixing, as the wood had started falling apart from rot, leaking my precious soil everywhere. Add in overzealous scratching from chickens, and you have one big mess.
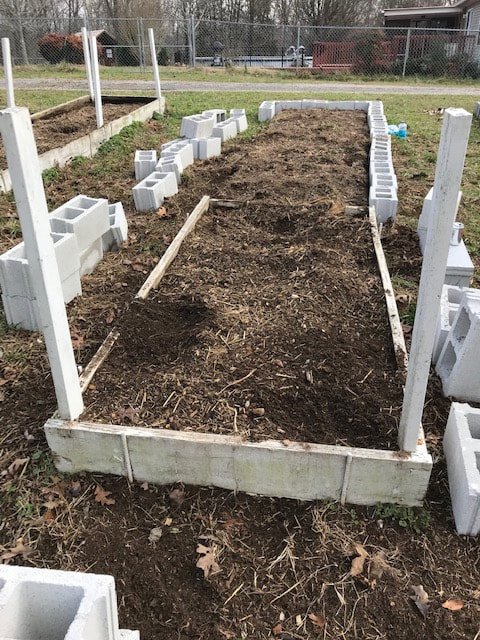
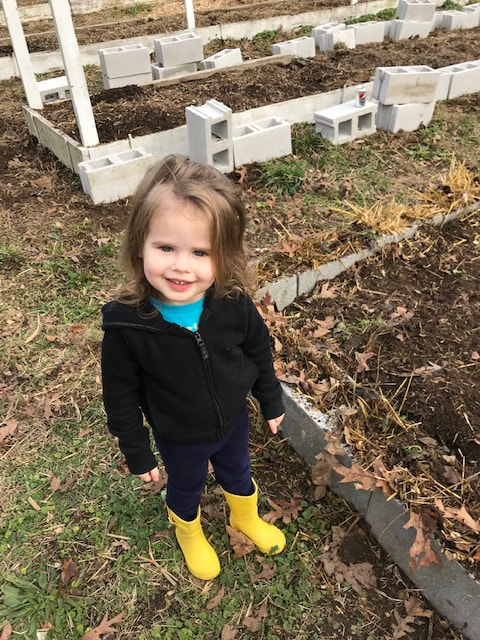
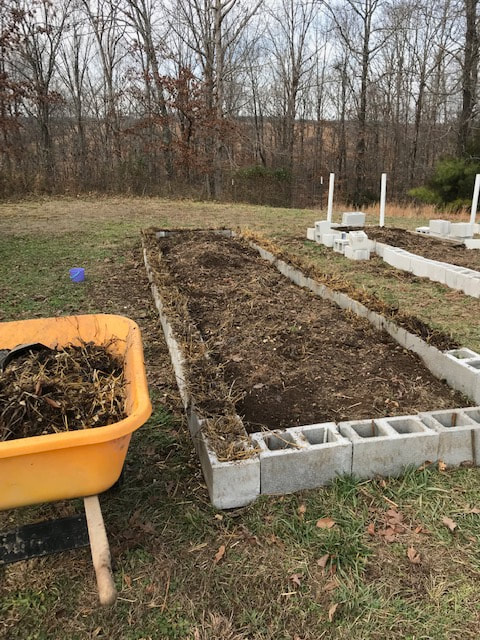
I saw on a post somewhere, probably Facebook, about using concrete blocks for raised beds, which never rot and have the added benefit of coming with two bonus planters on each one. I decided to rip out all the rotted wood that was left and replace it with concrete blocks. This was quite an undertaking because those blocks start to get really heavy after the 30th one you lift and set in place. Luckily, I had some help from my awesome family who were visiting over the holidays. Once again, fair warning, if you come to visit, you will get put to work!
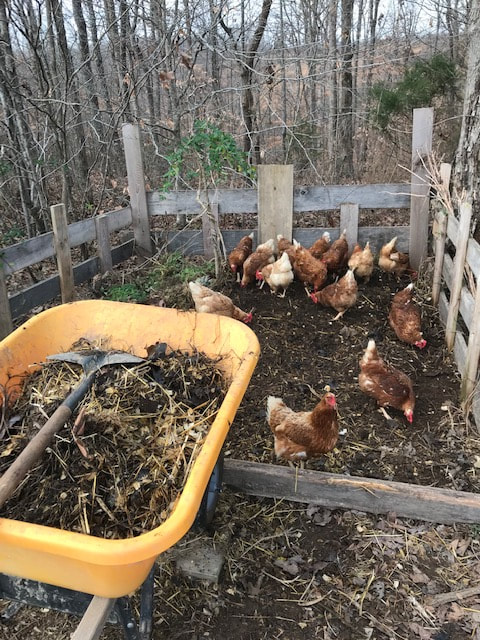
Once set in place, the block beds were larger than the foot print of the previous beds, so I ended up gaining 15 square feet of planting space for each bed, in addition to the holes in each block. We pounded in rebar spikes to set the blocks in place and then I filled each of the holes with unfinished compost. The idea is that the compost will break down over the next few months and provide additional nutrients to the beds and then will be ready to plant. I emptied the finished compost from our compost pile into the beds to fill in the extra space I gained.
The whole project cost around $225 in supplies for both beds and took around 25 hours of labor. The wood beds cost about half as much, but only last 4-5 years, where these will hopefully last me until I’m too old to garden. A good investment I believe. We plan to replace the other two beds in the next year or two as they start to degrade. I included a few photos from the process in case anyone else wants to give it a try.
 RSS Feed
